I have looked at all the photos online, and read the plans over and over again as I admit to having had difficulty seeing this structure in three dimensions from the 2 dimension plans. After advice from the builders forum, I just went ahead and cut out the parts per the plan and temporarily assembled all with hot melt glue. I LOVE THIS STUFF! This allows to see how the parts fit, make small adjustments, and hold things in place while testing for fit. I might just apply epoxy grout all around and call it a day. Here are two hatch frames for the cockpit seats assembled with hot melt and tested at the bench.


The plans also show a 1/8" spacer to be applied to the bottom of the front panel. I could not see how this was to work, but after assembly, I realize that the entire panel tilts forward towards the cockpit creating a space between the front panel and the seat edge. The 1/8 spacer fills this gap that is created. Next, will be to epoxy it all, then create the opening in the seats for the hatch frames. Very clever design.
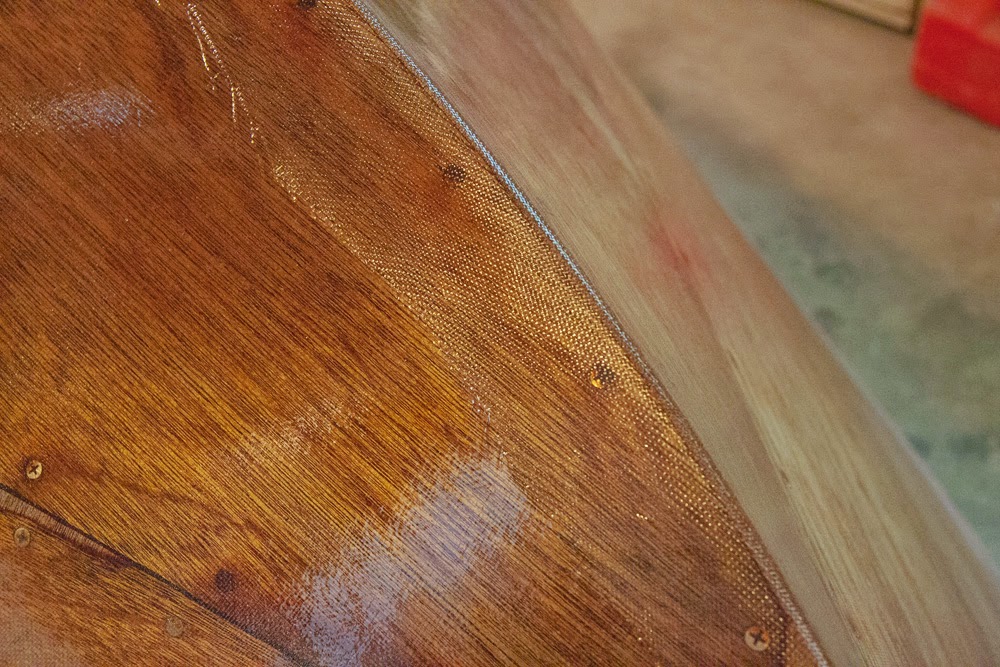
OOPS. the hatch rings are on upside down. Pretty sure it would have worked, but will reverse them anyways.
12-2-14 Both Hatch forms have been glassed and filleted along the channels. These areas will constantly be subjected to abrasion in damp spots and need a little extra love. Took 1.5 hours to apply epoxy. Extra glass was trimmed 3 hours later with a razor blade before the glass became too hard to scrape. Tomorrow, I will clean it all up and add another coat of epoxy.
December 27, 2014
We had a rare 50 degree day here in the Northeast US, so I rolled the boat out into the open air and decided to have at it with installing these locker hatches. There was not much to it after I figured out how to accurately measure the cut out by reversing the cover (front to the back) and setting it on the seat. 3/4" in all around yields the correct cut. NOTE: I cut all a little undersized and the use the router, plane, saw, and sander to sneak up on it. With this method there was about 1.5" of inner seat cleats to cut away. 10 minutes with the multi-tool and this was easily done. I am pretty happy with the result, and will make the seat tops this week.
while I was there, I cut out the access ports for the forward air tank for inspection purposes. Rumour has it that I will be adding emptied wine bladders to these tanks to achieve positive floatation.
 |
| The placement of the access ports is not quite symmetrical, this will drive me nuts. |
Hatch lids have been fitted and temporarily held together with hot melt glue. Will take them to the gluing table to permanently assemble with epoxy.
The stern hatch was actually trickier than I thought. Getting a fair curve that was aesthetically pleasing and then cutting it out took far longer than expected. I have added a 3/8 backing to the hatch itself to give it a little more durability in the long run. All is temporarily assembled with hot melt glue and then will be epoxied when it gets warmer.
 |
| the upper curve follows the same arc as the upper beam 3" below it. |
 |
| I used a Stanley Fat Max to make the cut. Best hand saw I have found so far for the tighter radius. |
 |
| Test fit reveals that the best approach will be to use a short length of piano hinge to hold it on. Wont get lost and really is not under foot as the lid sits 8 1/2" up from the bottom. I can operate it with one hand. |
 |
Test fit of the hatch lid in place with good clearance all around. This will work. will add a gasket to the frame to make it water tight.
routed a 1/16" groove into the hatch ring to accept the gasket (3/16) from Home Despot. Test fit showed that it seals quite nicely. Will remove the goo from the gasket and epoxy in place. Getting excited that this is coming out better than anticipated.
 | | Practice piece of foam gasket in a 1/16" hole. Cut with router. |
|
 |
| first attempt at using the router. |
 |
third attempt. A tad more than 1/16" with a straight bit on the router. This comes under the category of a new trick learned.
1-17-15 more work Made some small parts today, hatch dogs, and finger grips. Cut the continuous hinge with a dremel tool. Worked great.  | | These are 2" X 3/4" mahogany knobs to go on the side hatches, and also serve to hold the bungee cord in place to keep it shut. The goal is to have these hatches water tight in the event of capsize. |
 | | The almond shape pieces are mahogany buttons that will rotate to hold the aft hatch closed. |
 | | Hinge was cut with an abrasive wheel on a Dremel tool. Hinge is closed shiny side in! No Scratching. |
I am adding a small lip to the bottom edge of the aft hatch. The lid is only 1/4" thick and screws will get in the way of the hatch closing, so I have added a 1/4"X 3/4" plywood strip under both halves of the hinge. This will provide some bite for the screws, as well as strengthen the lower lip in case I accidentally step on it. ` This worked pretty well. The result is a pretty strong set up.
A 3/4" groove has been routed into the frame to accept the gasket that will be mounted on the hatch lid. Turnbuttons will be added to each side to hold shut while under way.
View of the three hatches being dry fit to the boat. I still need to fit the gaskets.
Forward hatch frame.
Test fit of the lid. Currently it is warped and am hoping that with some battens added to the underside to accept the shockcord (see Kayak hatches for a description of how this works) the warp will disappear.
The lid shows the exposed screws that have been ground flush with the frame.
|


.jpg)


